Create a NFS export
In this tutorial, you’ll use the QF2 dashboard to create a Network File System (NFS) export. The export allows NFS clients to share data stored in a particular directory.
Analytics — capacity explorer
Analytics — capacity trends
Analytics — integrated analytics
Analytics — IOPS hot spots
Analytics —Throughput hot spots
Analytics activity by path
Analytics activity by client
Continuous replication
Configure the network for static addresses
Create a Qumulo cluster on a Mac
Create a Qumulo cluster on Windows
Create a quota
Create an NFS export
Create an SMB share
Creating snapshots using the Qumulo dashboard
Safe shutdown
Scripting Qumulo with S3 via Minio
How to Get Started
1. Log in as admin if you need to.
2. The dashboard appears.
3. Point to Sharing and then click NFS Exports from the drop-down list.
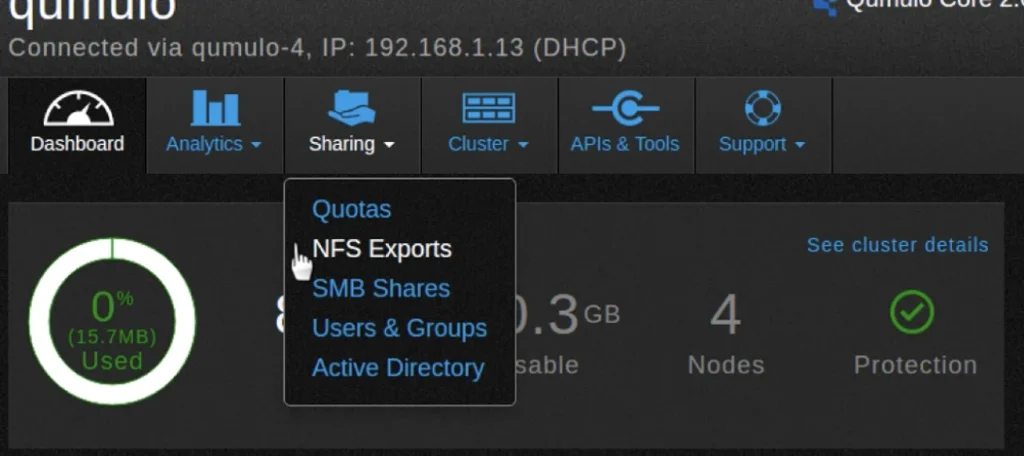
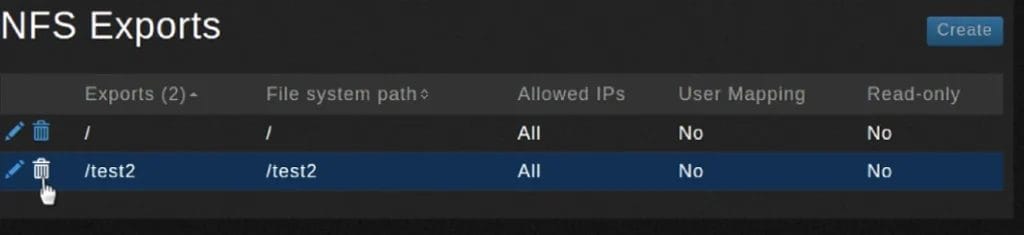
4. You should see the NFS Exports page, which lists the available exports.
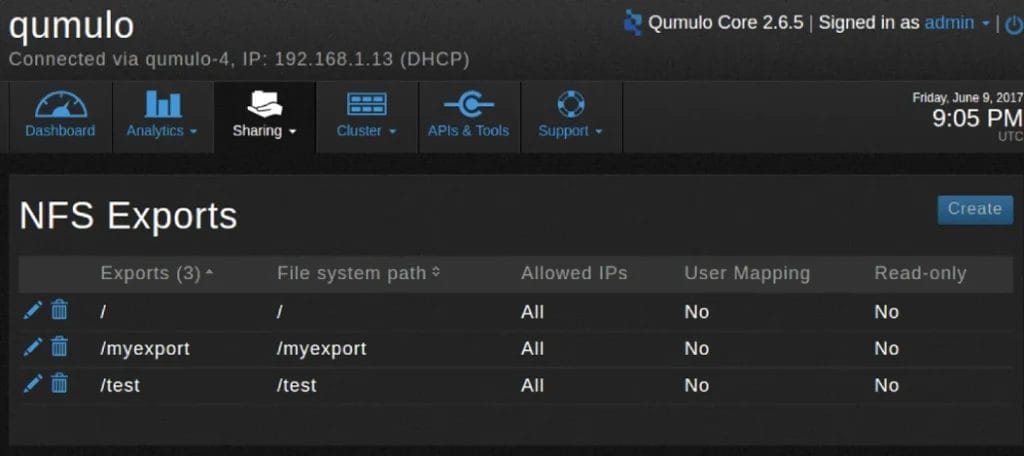
5. Click Create.
6. An NFS Export dialog box appears.
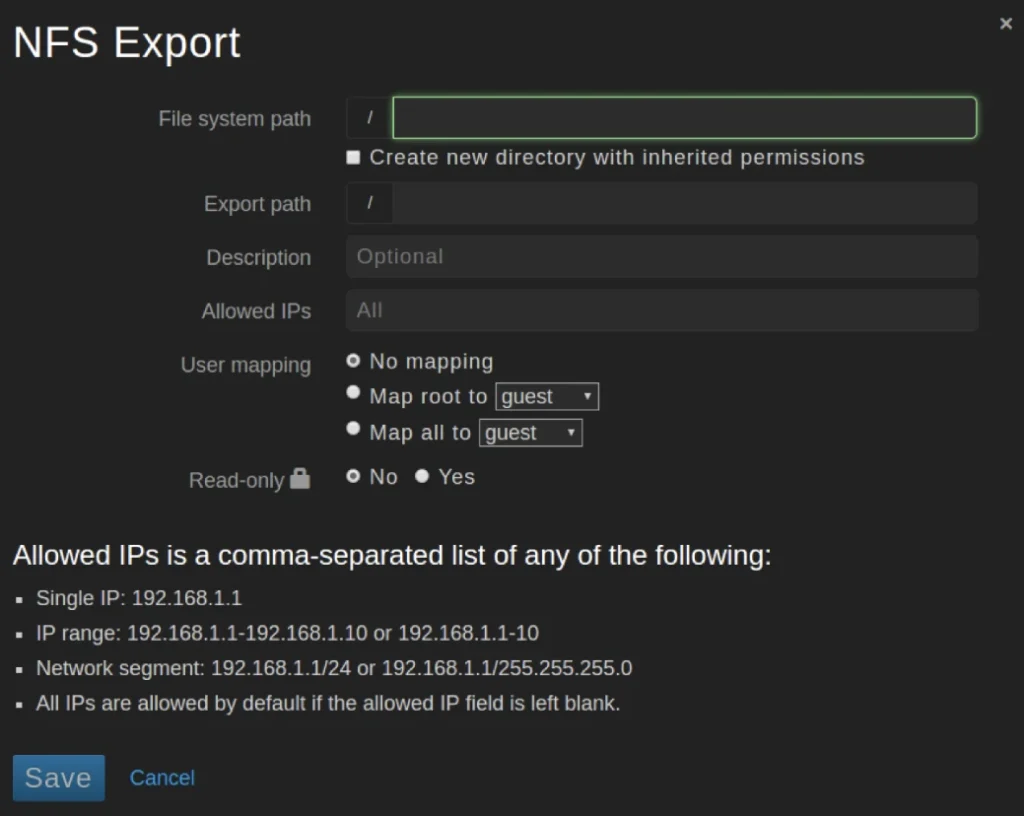
7. You must fill in all the required fields. Here are the definitions:
- File system path. The path to the directory to be exported.
- Create new directory with inherited permissions. If selected, creates a new directory if the file system path does not exist.
- Export path. The NFS export name that will be mounted by clients.
- Description. A description of the export (optional field).
- Allowed IPs. A list of IP addresses that the export can be restricted to. The default is to allow all IP addresses access to the export (optional).
- User mapping. Forces user IDs to be mapped to a specific ID. The No mapping option is the default.
- Read-only. By default, the export is read-writeable. If you select Yes, it is only readable.
Here is an example. The directory test2 will be created on the file system and exported as test2. There is no user mapping and the export will be read-writeable. There are no IP access restrictions.
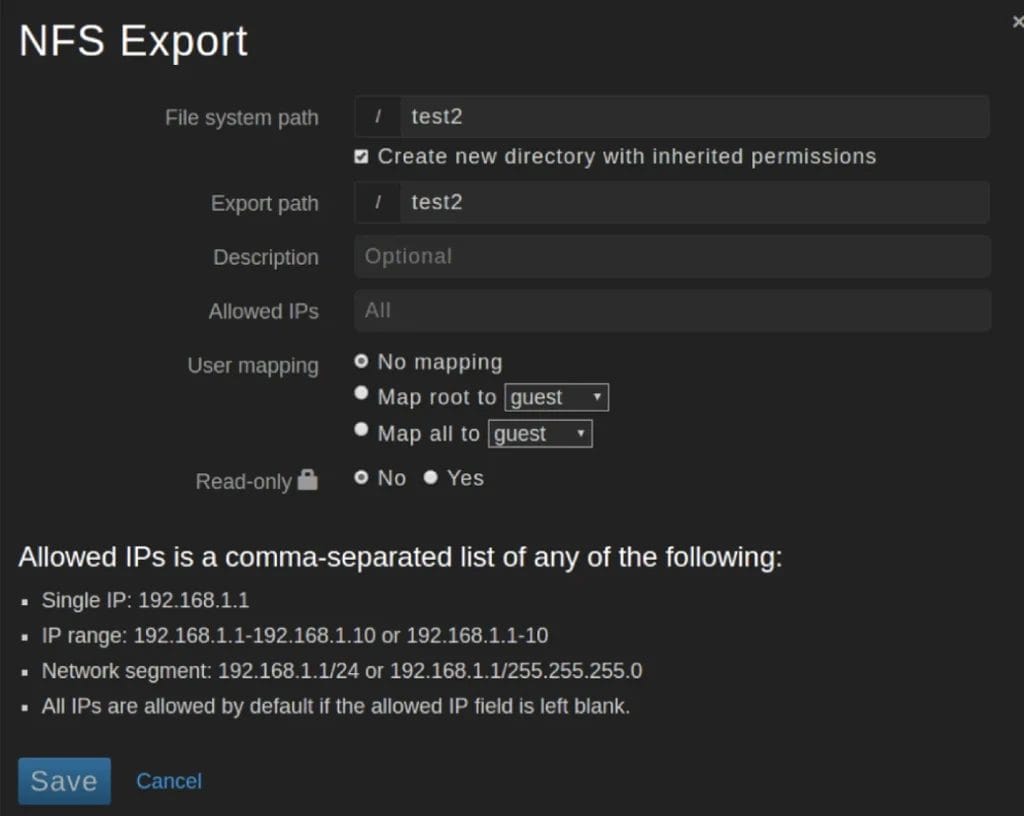
8. Click Save.
9. Once the operation completes, the newly created export appears on the NFS Exports list.

Edit exports
You can edit an export’s properties.
1. On the NSF Exports page, click the pencil icon next to the share you want to edit.

2. The NFS Export dialog box opens.
3. Click Save when you are done editing.
Delete exports
You can delete an export.
1. On the NFS Exports page, click the trashcan icon next to the export you want to delete.
2. You will be asked to confirm the deletion.
3. Click Yes, Delete Export to confirm the deletion or click Cancel to keep the export.